Advertisements
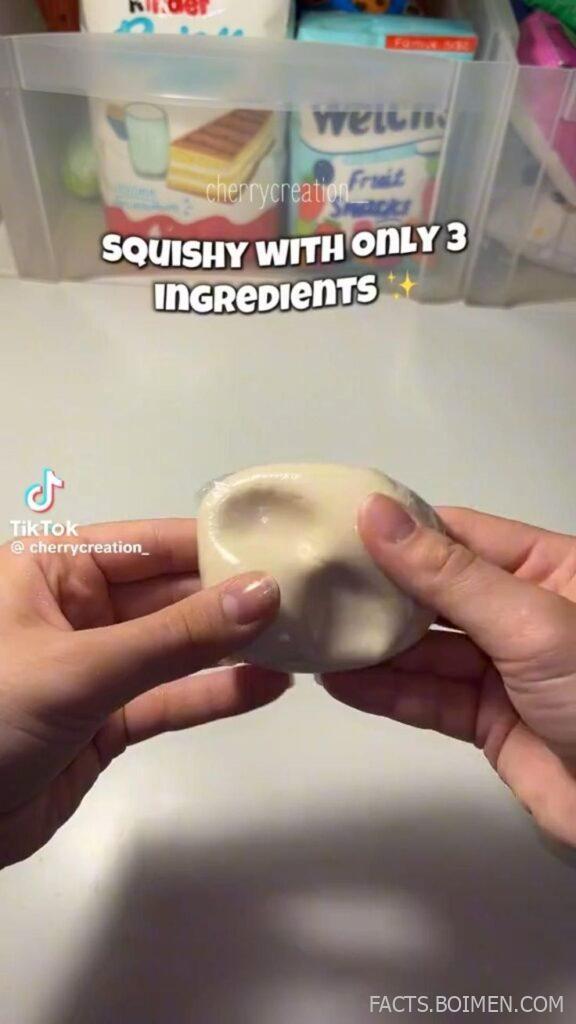
Squishies have become one of the most popular stress-relief toys around the world. Whether you use them for relaxation, fidgeting, or just for fun, they are soft, squeezable, and surprisingly satisfying. But did you know you don’t need to buy them from a store? You can actually make a DIY squishy at home with just three simple ingredients.
This tutorial will guide you step by step to create your own squishy using household items, so you can enjoy stress relief and creativity without spending much money.
Why Make Your Own Squishy?
Homemade squishies are fun, affordable, and customizable. Here’s why people love making them:
- Stress relief: Perfect for squeezing during anxious or stressful moments.
- Sensory play: Great for kids who enjoy tactile experiences.
- Budget-friendly: Made with common household ingredients.
- Creative expression: You can shape, color, and personalize them however you like.
Materials You’ll Need
This DIY squishy only requires 3 ingredients plus a few optional items for customization.
- Cornstarch or flour – The main filler that gives your squishy its shape.
- Water – To soften the mixture and create a flexible texture.
- Plastic wrap or balloon – To hold the mixture together and make it squeezable.
Optional extras:
- Food coloring for fun colors.
- Glitter for sparkle.
- Tape or elastic bands for sealing.
Step-by-Step Tutorial
Step 1: Mix the Base
- In a bowl, add about 1 cup of cornstarch (or flour).
- Slowly add ½ cup of water, stirring as you go.
- Adjust the ratio until you get a smooth, dough-like texture that isn’t too sticky.
Step 2: Prepare the Casing
- If using plastic wrap, cut a piece large enough to hold the mixture.
- If using a balloon, stretch the balloon to make it easier to fill.
Step 3: Fill the Squishy
- Place the cornstarch mixture in the center of the plastic wrap (or funnel it into the balloon).
- If using wrap, fold and twist it tightly to trap the mixture inside.
- If using a balloon, tie the end securely.
Step 4: Seal and Shape
- Wrap the squishy again with tape or a second layer of wrap/balloon to make sure it doesn’t leak.
- Shape it into a ball, cube, or even a fun face!
Step 5: Customize (Optional)
- Add food coloring to the mixture for vibrant squishies.
- Use markers to decorate the outside.
- Add glitter for a sparkly effect.
Safety Tips
- Don’t overfill your squishy, or it may burst.
- Keep away from very young children (since balloons and plastic wrap can be a choking hazard).
- Store your squishy in a cool, dry place to prevent it from spoiling.
Benefits of DIY Squishies
- Relaxation – Squeezing helps release tension in your hands and mind.
- Focus – Perfect for students or workers who need a quiet fidget toy.
- Creativity – Making your own squishy encourages craft skills.
- Bonding activity – Fun project to do with friends, family, or kids.
Conclusion
Making a DIY squishy with only three ingredients is fun, quick, and incredibly rewarding. With just cornstarch, water, and plastic wrap or a balloon, you can create your own stress-relief toy in minutes.
Not only will you save money, but you’ll also enjoy the satisfaction of making something with your own hands. So, next time you’re looking for a way to relax or want a fun craft project, try this tutorial—you’ll never look at squishies the same way again.
Advertisements