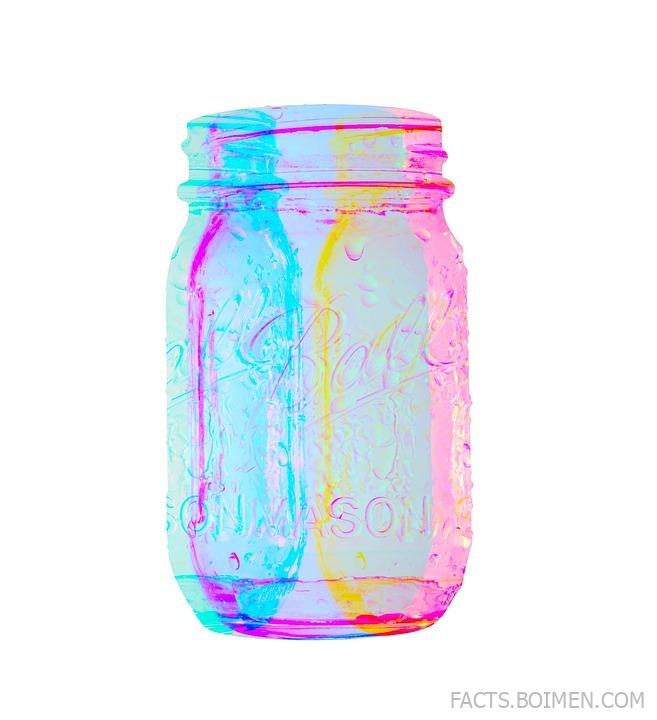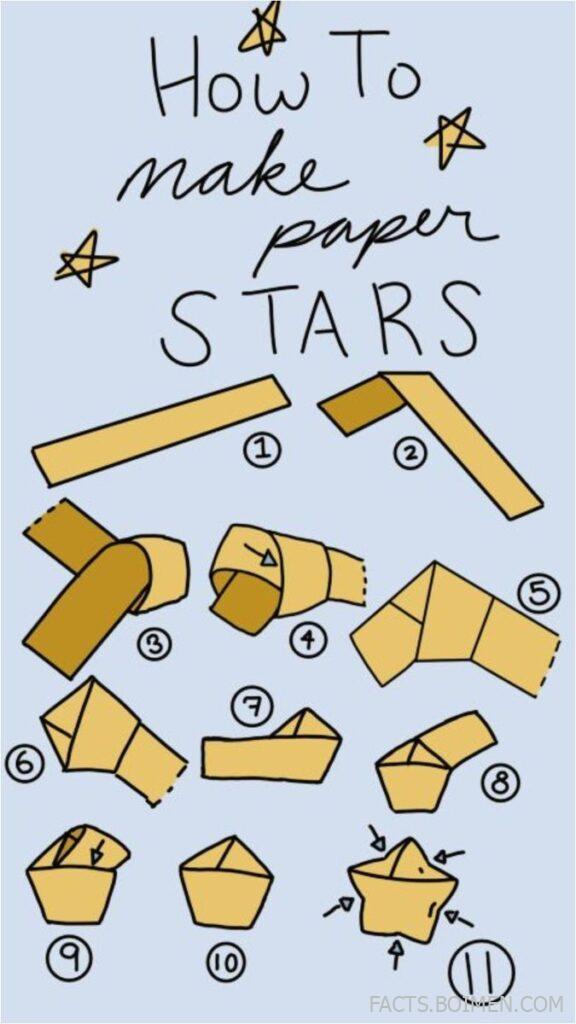
Paper stars are a simple and beautiful decoration that you can make at home. You can put them in a glass jar, hang them in your room, or use them for parties and gifts. In this article you will learn, step by step, how to make small 3D paper stars like the ones in the picture.
Materials You Need
- Long, thin strip of paper
- Scissors (if you need to cut the strip)
- Flat table to work on
You can use colored paper, gift wrap, or any light paper. The strip should be about 1–2 cm wide and 20–30 cm long.
Step 1: Make a Loop at One End
Take the paper strip and make a small loop near one end.
Cross the short end over the long end, like you are starting to tie a knot.
Step 2: Tie a Flat Knot
Pull the short end through the loop and gently tighten it.
You will get a flat knot that looks like a small pentagon (a shape with five sides).
Step 3: Flatten the Pentagon
Press the knot down with your fingers so it becomes flat.
Make sure the sides are sharp and the shape looks clean.
If the short tail of the strip is too long, fold it behind or cut it off.
Step 4: Start Wrapping the Long End
Now you have a little pentagon with a long paper tail.
Take the long end and fold it over one side of the pentagon, following its shape.
The strip should always lie flat and follow the edges of the pentagon.
Step 5: Keep Wrapping Around the Pentagon
Continue wrapping the long strip around the pentagon, side by side.
Each time you fold, the strip will change direction and follow the next edge.
Wrap until almost all the strip is used. You should still see the pentagon shape, but thicker.
Step 6: Tuck the End Inside
When you reach the last part of the strip, tuck the end into one of the layers of paper.
Slide it gently under a fold so it does not open again.
Now you have a flat, thick pentagon.
Step 7: Form the Star Points
Hold the pentagon between your fingers.
Use your thumb to gently press in the center of one side.
When you press, that side will pop out and form one point of the star.
Repeat this on all five sides:
- Press the middle of each edge
- Shape the paper carefully
After pressing all sides, the pentagon becomes a small 3D star.
Step 8: Adjust and Finish
Look at your star from all sides.
If one point is too small or flat, press again gently to fix the shape.
You can make many stars in different colors and sizes. Put them in a jar, use them as table decoration, or glue them on greeting cards.
Ideas for Using Paper Stars
- Fill a glass bottle or jar with many stars as a cute room decoration.
- Put a few stars inside a gift box or envelope as a surprise.
- Make a string of stars and hang it above your bed or desk.
- Use pastel colors for baby showers or bright colors for birthday parties.
Making paper stars is easy, relaxing, and creative. With only a strip of paper and a few simple folds, you can create beautiful decorations that look magical in any place.